Wednesday, January 13, 2021

How To Make A Homemade RC Car? 11 Steps with Pictures

You can find more information about making your own electric rc planes here . We took our scraps of wood and glued them together using pine sap as glue (don’t ask why ) . Then we started screwing all of our pieces together using our screws and nails . There was no way we were going to finish this thing by hand ,so we decided to buy a jig to make it easier . At 12v the rpm will be very high, we will then need speed reduction gears to be able to control it. A 12v motor will also work with less voltage and provide less rpm.

how to make your own rc car at home

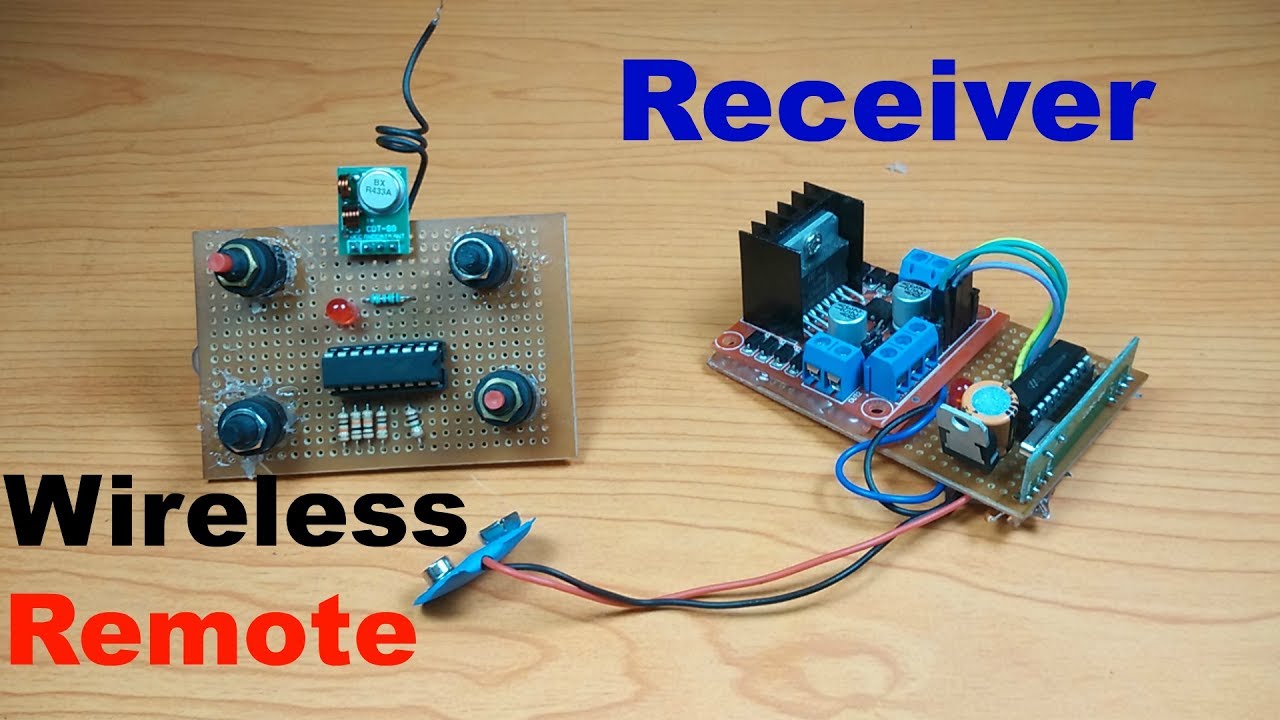
Now we will fix the radio control circuit in a place where there is space and we will join the circuit cables to the motors. To feed the power of the car we will use a 3.7 volt battery. Receivers, transmitters, speed controllers, and battery packs can all be purchased online or from RC hobby shops.

How to Make a DIY RC Car

The front wheels and their axles are easy to assemble, and are fastened together according to the diagrams supplied. Weve put together a great selection at the RC Superstore so that you can find something that fits the exact level youre at right now. Below are three mini-reviews of kits for the Best Budget, Best Value, and Top Pick.

how to make your own rc car at home

The job is to then slide the springs onto the shocks. Finally, attach the shocks to the axels once everything is in place. Consider the Mini-Q if you’ve never assembled an RC kit car before. It’s super easy to put together thanks to the straightforward guide and systematic steps. It’s an ideal entry-level kit as the factory has done all the precision assembly work.

Select Your Race Car Kit From RC Superstore

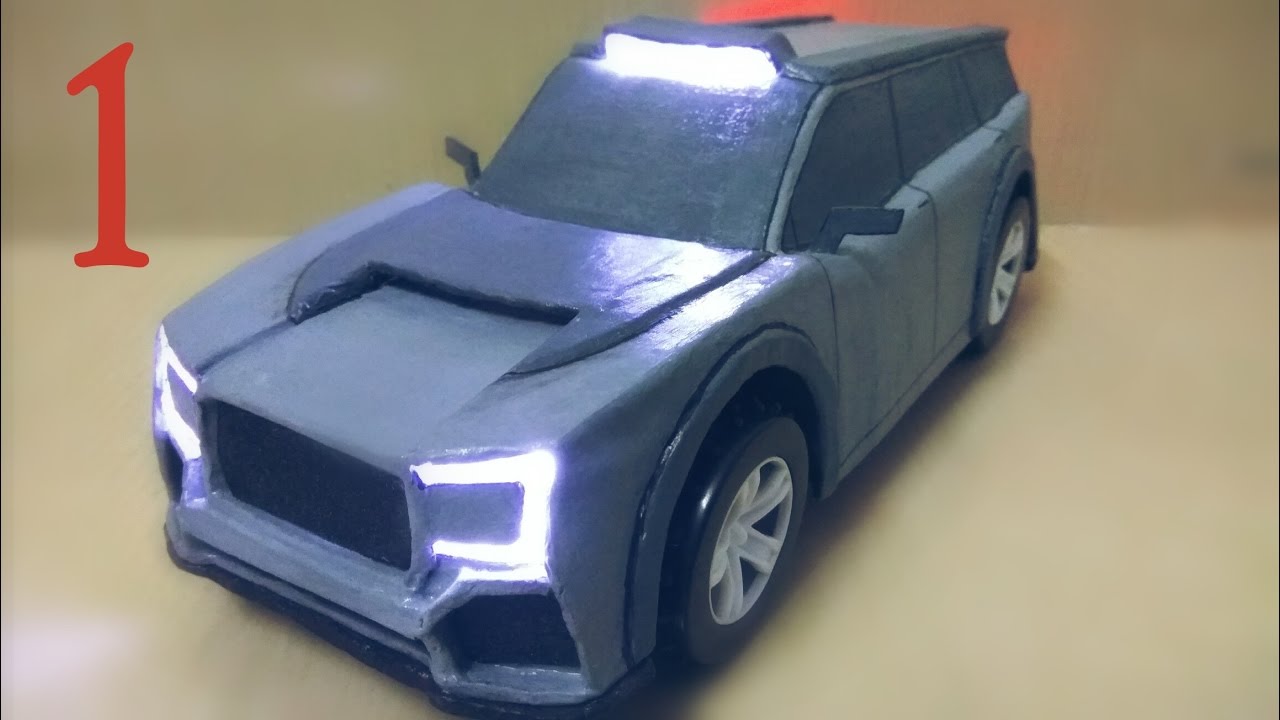
Connect a 5v mobile charger to completely charge the battery for the remote control car. Take the transmission remote and get ready to have fun with this amazing remote control F1 Car. Make sure that you follow all the steps that we mark here and in the video of how to make a homemade remote control car for children. It will surely be a unique opportunity to share time with your child and learn many new things. This car needs extras to complete, and that’s typical for RC car kits.

how to make your own rc car at home

They’re built to the same stringent specifications used when making any Traxxas components, which means that they’ll hold up to quite a lot of usage. What did you think of the how to make a homemade RC car? We will place the LEDs in the holes that we have previously made where the car’s fights should go and join all the parts with silicone to the chassis.

How Does The Remote Control Car Work

The Greenpro 3309 Wall Mount Storage Cabinet/Drawer Organizer is an excellent example. Make sure every part is tightly attached to the chassis. In time, the vibrations will cause these parts to loosen. After assembling these components, attach the body to the chassis and add the external details, such as the spoilers.

how to make your own rc car at home

I cover kit options as well as building models from scratch. The latter route is what RC’ers call scratch building for obvious reasons. It makes sense to go with the kit version if this is your first project. Kit building is the best way to become familiar with the composition and construction of a vehicle. Before assembling the car kit, go over the instructions.

Homemade RC Car..!

Not to mention it will reflect and match your personality and driving style. Our crew is always on the lookout for new parts and kits, so you can trust that our catalog is curated to contain only the highest quality parts and products. To find out more about how to build your own RC vehicle from a kit, reach out to our team today. No matter what skill level you might be at, there’s an RC kit out there for you. Better still, you don’t have to feel like you need to build a kit based on someone else’s preferences. Eventually, you might want to start changing pieces out here and there as time goes on.

Electric rc cars are very fun and exciting to drive. There are so many different kinds of electric rc cars on the market today that there is sure to be one that suits your needs perfectly. With so many options, it can be hard to know which one is right for you. When you think of remote control car kits for beginners, you probably wouldn’t think of something with this many parts.

Step 7: the front wheels

The chassis is suitable on-road and off-road flat dirt surfaces. The finished model produces an authentic sound that adds further to its appeal. A lot of RC kits don’t include a battery in the box.

But for your safety and those of others who don't know please STOP!!!! Those things will go POOF and then your project goes up in smoke, BE SAFE. Also would this motor be a better fit, because the battery is only 4.7V while the motor you recommend is 12V. #robobot3112, Yes, a differential drive is a good idea but that required some parts to be made using 3D printing. I have kept that upgrade for the next & more efficient RC car. Refer to the connection diagram above and connect all the components accordingly.

Reasons to Consider 2WD Racing Fighter Kit

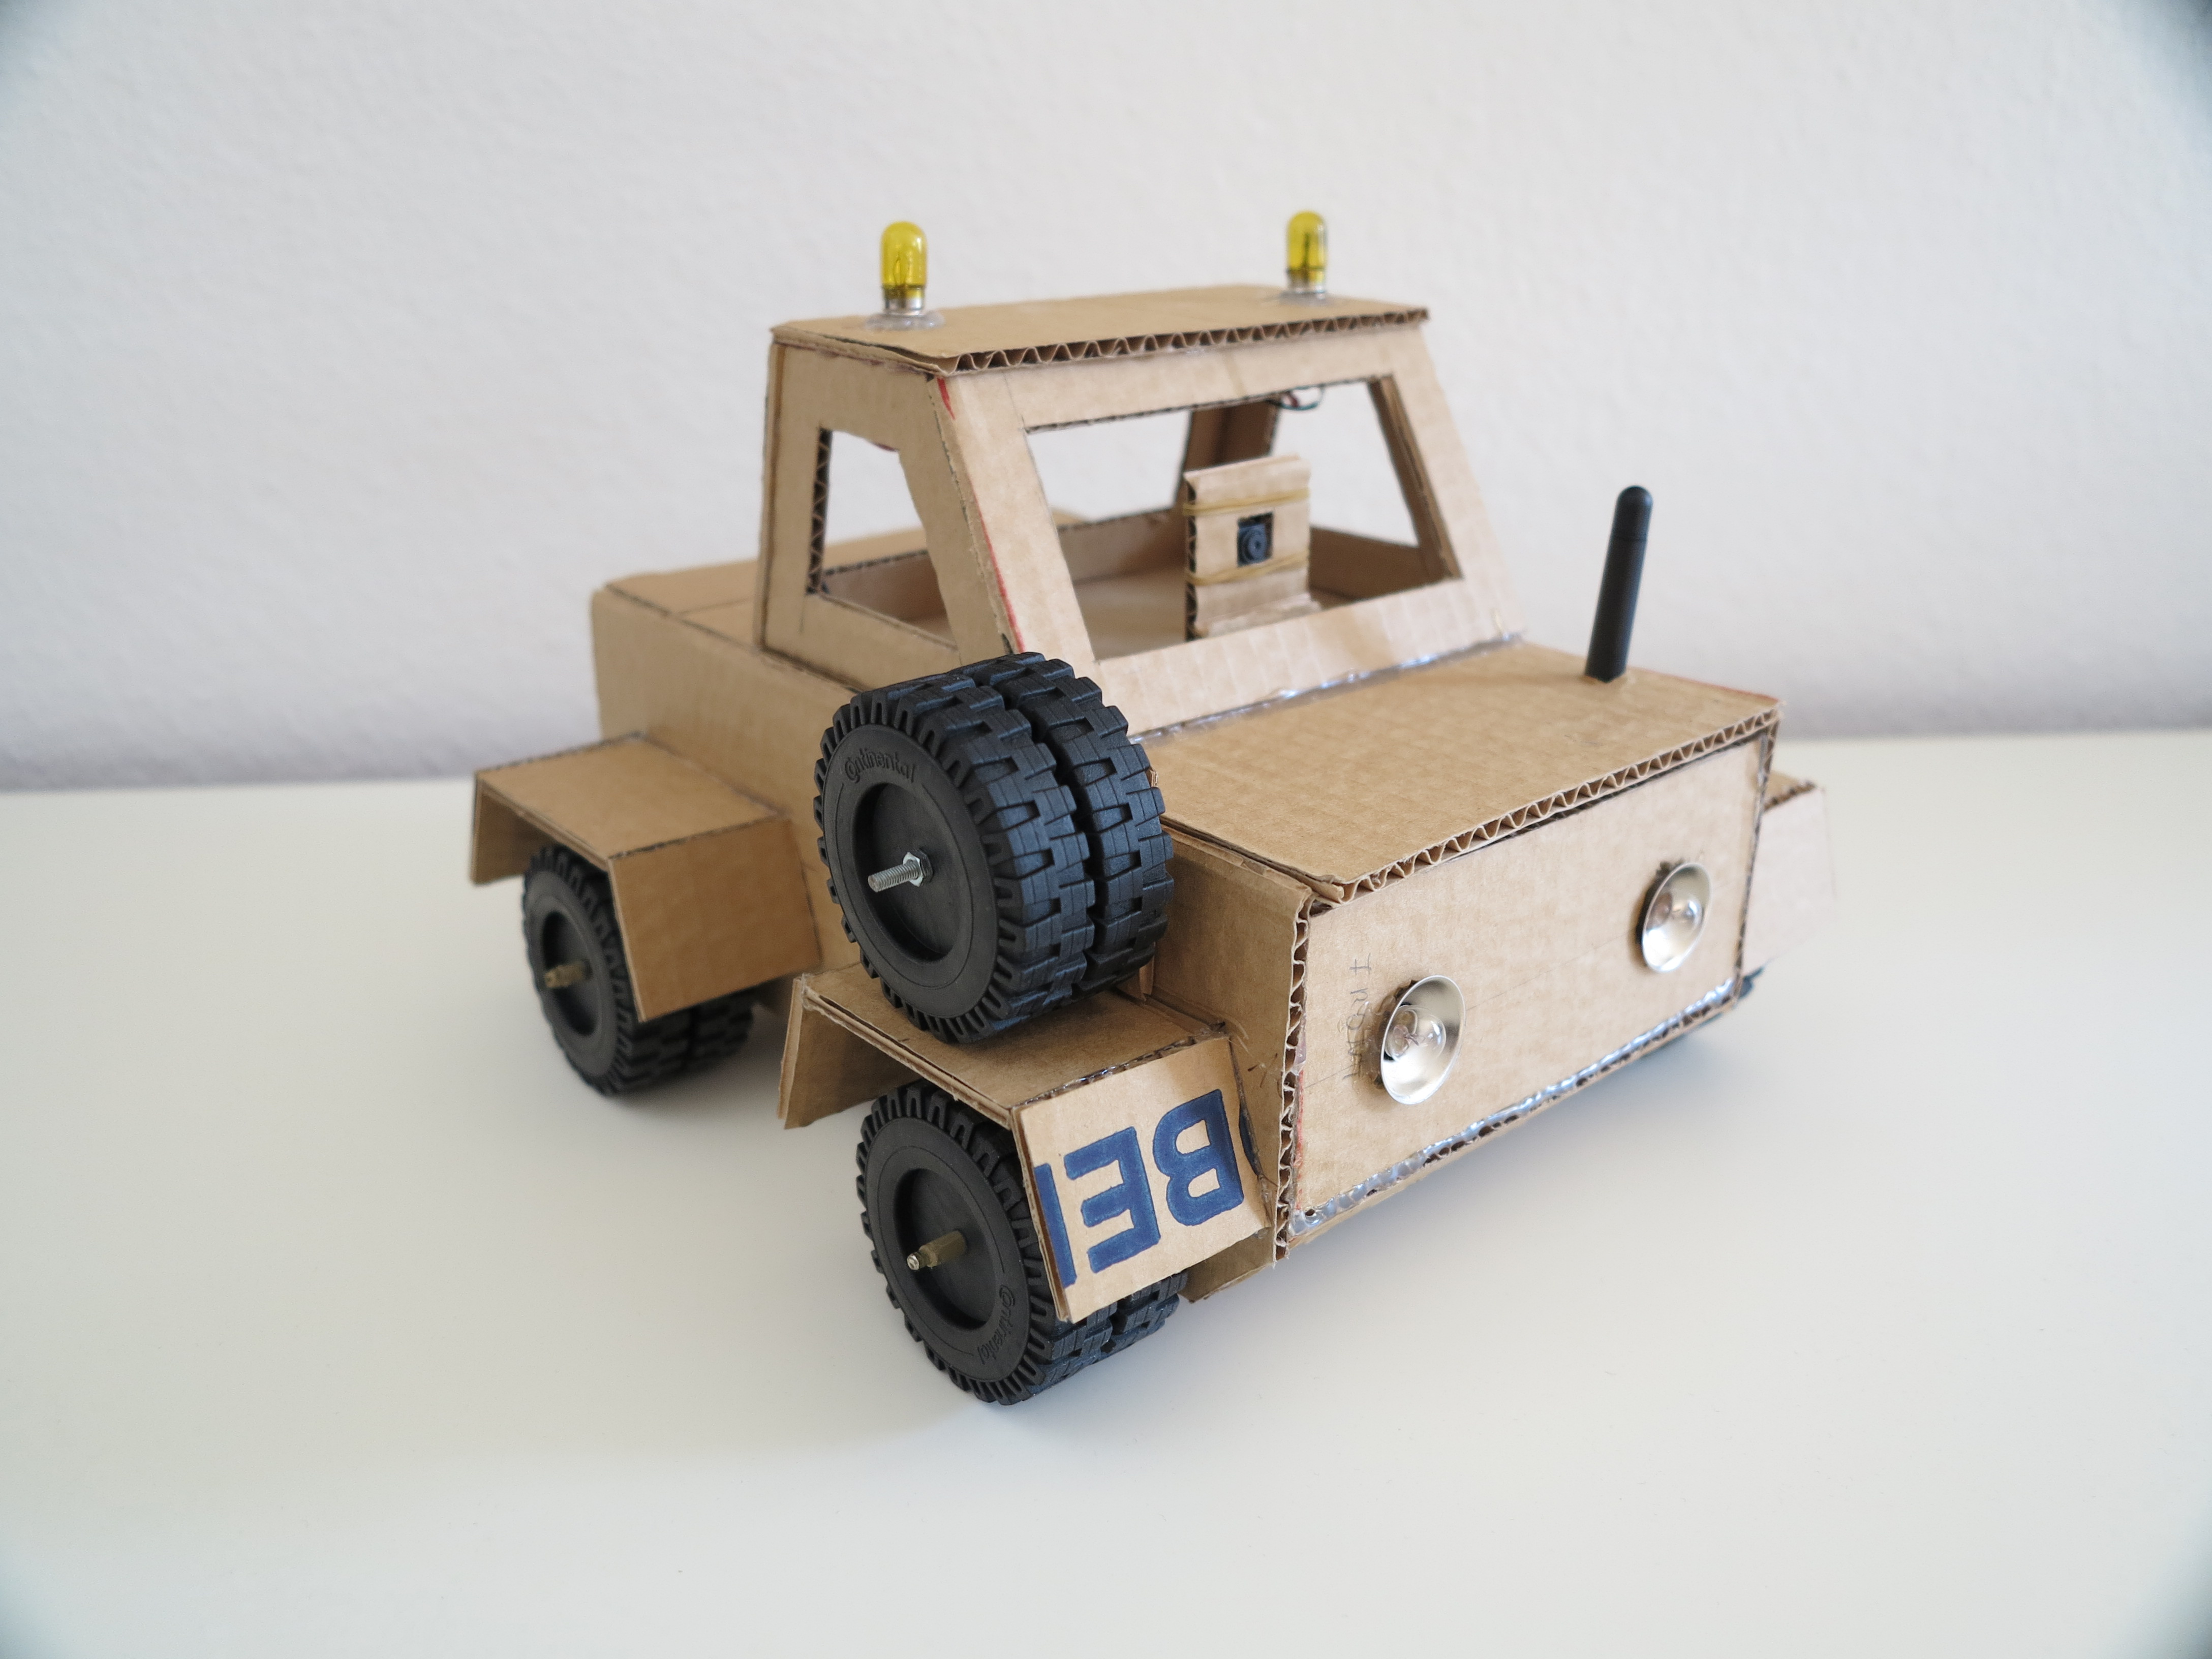
A small RC vehicle can have a maximum thrust of around 5 lbs, while a large model will have a higher maximum output. We are building a rear-wheel-drive system so the drive motors should be attached to the rear wheels and then glued to the chassis. After pasting all the cardboard pieces, our remote control car is now ready.

how to make your own rc car at home

Place the servos near the front of the vehicle and attach them to the front axles. Screw the electric motors onto the back axles so they’re attached to the gears. Set the battery on top of the chassis and attach all of the wires.Batteries are typically sold separately from the RC kits. Check with your kit’s manual to figure out which type of battery you need. Put electric drive motors onto the back tires before securing them to the chassis.

Can you build an RC car from scratch?

Make sure to disconnect batteries before working with any electrical components. You can also use wheels from other RC kits or ones that you bought from a supply store. In (3.8 cm × 3.8 cm) in size out of your Lexan plastic.

How to Make a DIY RC Car

For this we will make two circles with a diameter of 6.3 cm and one with 5.6 cm. We will drill them in the center and join the 3 using the silicone gun. About 5 cm from the end of the chassis, we will make a mark and drill with the drill. We will have to drill the two elongated parts of plywood. That circle will serve us for the rear axle of the car.

It’s now time to attach the shell providing everything has gone to plan thus far. The kit should include clips to hold the body secure over the chassis. That allows you to change components, make any adjustments, and perform repairs as necessary.

Step 7: Connect the Components

So if the switch is ON then that line is connected to GND otherwise the pin is left floating. There are many ways to go about this depending on what you want out of your RC car. If you just want to race around outside, then you’ll probably want to use a vehicle frame like a wood or fiberglass one. If you want to drive it around inside your home, then you’ll likely want a metal frame. If you are looking for a truly satisfying educational project during lockdown that doesn’t involve looking at a screen, then a DIY RC car could be for you.

However, inexperienced kit builders don’t always notice at the point of purchase. Another con is that the springs are a little on the soft side and tend to bottom out, even at the higher settings. You still get to acquire knowledge by assembling the kit. It teaches you about the parts, where they go, and how they function. You get to learn about maintenance, tuning, and the benefits of upgrades, etc.

Rage C2400 Mini-Q 4WD RC DIY Kit Car | Best Budget

Electric rc cars are very fun and exciting to drive. There are so many different kinds of electric rc cars on the market today that there is sure to be one that suits your needs perfectly. With so many options, it can be hard to know which one is right for you. When you think of remote control car kits for beginners, you probably wouldn’t think of something with this many parts.

how to make your own rc car at home

Consider using parts that are lighter if you’re starting to get into the stunt aspect of the hobby. Those who are just beginning to stunt drive, and may not be entirely sure that they’re going to want to stick with it, could always swap these out later on. We repeat, we know that they are complicated steps and you may not understand it well by reading it. We recommend that you watch the video to do it correctly . To join the wheels with the chassis we will put instant glue. Later we will have to make a pulley out of a piece of cardboard.

Step 8: Make Body Parts

OK, let’s begin with RC kit cars, the things you need to start, and review a few examples. Pay attention and take your time when you’re working with parts that require certain sizes or lengths. Make your measurements with calipers, mark the cut then measure again. Fit every part into its place, before gluing or securing it. Take your time in sanding down the edges, making sure they fit perfectly.

how to make your own rc car at home

Now we will place the axle so that the pulley is in the center of the vehicle’s chassis. Before joining the shaft to the other part of the rc car, we will have to place a rubber band next to the pulley. Servos for RC cars can be purchased online or in hobby shops. Make a steering component out of plastic and a servo for the front tires. Cut out a thin strip of Lexan plastic that’s the same length as the distance between your wheel hinges.

You must source each individual part and know that it’s going to fit/work as intended. Some hardcore scratch builders draw their plans rather than download them. Others prefer to buy pre-made parts and create their model that way. The technical parts secondly the electronic components and thirdly the basic components. Basic components are common in all the kits while technical components and electronic components are found in some specialized kits.

Otherwise, there might be interference between the receiver and the remote. For hardware , there is a kit you can buy that includes all the parts you need to assemble and control the RC car. A full spin cycle is when the shaft turns a full 360°. The amount of 360° turns, or revolutions, a motor does in a minute is its RPM value. Dont choose motors of higher rpm cause it will be difficult to control it and remember SPEED IS INVERSELY PROPORTIONAL TO TORQUE DEBUGGING . Remember to always wear safety goggles and to have a dry and clean towel on top of which you’ll place all the parts.

Place the DC motor over the car base and secure with hot glue such that the motor drives the rear axle of the car. Make sure you check the type and length of the screws, at every step. Look at the drawings you have in your manual and follow the dotted lines that show you where each screw goes. What makes the hobby of RC car racing truly enjoyable is the fact that it gives you the possibility to build or add components yourself. You can even add a special touch to it by building an entire RC car on your own.

Get organized by writing down things you’ll need to remember, like screw sizes, and putting them on separate hardware trays. Rubbing the threads of the screws with a bit of soap can help prevent stripping. When you work with metal components or nuts, it’s best if you use liquid thread lock. Most people who take up the challenge of building an RC car on their own choose an electric model. But for those who are familiar with the art of assembling an RC car, a nitro or gas-powered model can turn out to be a fun challenge. There are plenty of RC car kits to choose from, and thats fantastic news for the novice builder.

Build Your Own DIY RC Car and Much More

Off-road vehicles are the perfect starting point for beginners because you can take them anywhere and have a blast. As a bonus, they tend to be more durable than on-road cars, allowing for more run time and less downtime. RC cars broadly fall into six categories.On-Road CarsOn-road vehicles are best suited for paved, smooth surfaces.

It also includes a steering servo and the battery pack, as well as a charger. With these, you won’t have to worry about picking up anything else. To build the front wheels we will first have to cut 3 pieces of plywood. The measurement of these small pieces has to be the same as the part that protrudes from the chassis of the longest piece.

Prepare The Model Car For The Build

Take a plastic gear and drill a hole equal to the diameter of the wooden stick. A video is a wonderful tool that provides deep insight to the procedure and makes it easy to understand. However, it is also recommended to visit next steps for additional details and images. All the materials used to make this car are easily available, however, i have also mentioned online links for the necessary parts. If you don’t want to end up squirting thread-lock onto your fingers or hands, try applying a drop on a bag first. Then, gently touch the threads of the screw to the fluid.

Lock all the screws with a thread-locking adhesive if they go into metal. Do this when the guide tells you to fasten certain parts together. You shouldn’t need to use glue if the screws go into plastic, though.

White House History, Location, & Facts

Table Of Content White House Renovations and Improvements Where to stay in Helsinki, Finland's design-conscious capital Building the Whi...